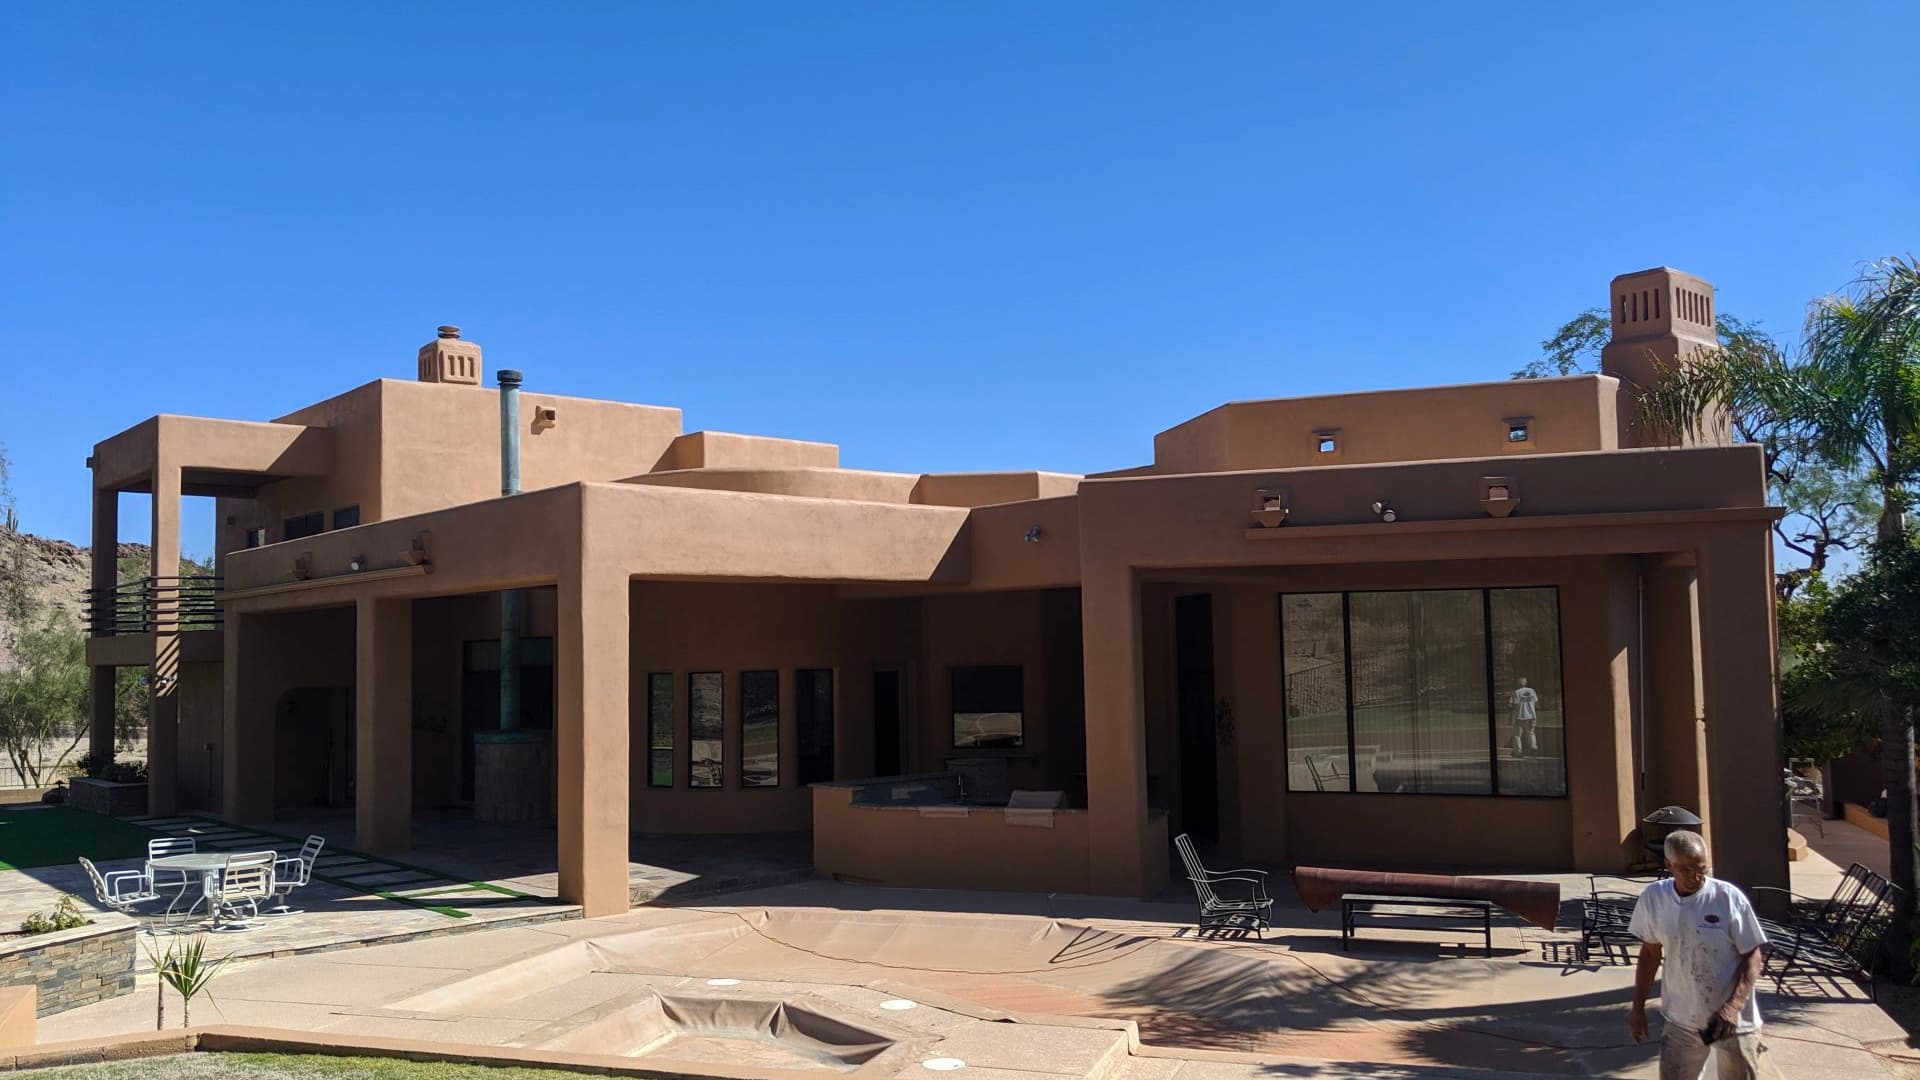
The expert Scottsdale painters from the Arizona Painting Company have the know-how when it comes to enhancing the beauty of your wood floors, and below they lay out their fool proof formula for painting on a beautiful, decorative overcoat.
1. Pick a Design:
This will by far be the hardest part in the process. Selecting a pattern can be an entire process in and of itself; however, to help you choose take these things into consideration:
- How large is the surface you are trying the stain?
- How large do you want the pattern?
- How steady is your hand? In other words, are you capable of successfully painting a complex pattern, or should you stick with a simpler one?
- It is recommended that you choose a simpler pattern with straight lines if you don’t have the steadiest of hands. This will make the scoring process easier as you won’t have to worry about making cuts along curves.
2. Sand the Floor:
Before you begin the staining process, make sure that the surface you are staining is clean and smooth. Make sure that the entire surface is dusted and clean of any dirt or bumps you don’t want under your beautiful marquetry.
3. Stencil In a Sketch:
For this step, you will need a pencil, a metal straight edge, and a razor knife. First, lightly outline the shape of your design with a pencil. That way if you make a mistake you can easily erase it. Then line up the metal straight edge with the lines you have drawn and cut along those lines. This will keep the stain from seeping to where you don’t want it.
4. Start Staining:
To stain the surface you must first blend the stain well using a small paintbrush. It is recommended that you use a water based stain with acrylic latex as a binder. If you have multiple stain colors, make sure you have a different paintbrush for each one. When you’re painting, keep to slow, steady strokes and paint entirely within your scored lines.
5. Seal In your Work:
Once you have painted to your liking, let the stain set for at least 24 hours. Then apply two or three coats of polyurethane.

