Arizona Painting Company Interior House Painting Process
Painting is one of those household tasks that many people think they can undertake, it looks so easy right….?
Unfortunately, many homeowners find themselves in over their heads halfway through a project. We don’t want you to make that same mistake! If you are going to elect to paint your own house we recommend you follow our process.
Over the last 12 years we have perfected this process and we follow it on every job we do. It’s this process that gives us a fantastic final result and many happy customers. The painters at Arizona Painting Company are all trained in each of these aspects and we take great pride on each and every painting job to ensure it is done right the first time! Every house is a little different so the process may vary slightly depending on what your home needs but here is our typical interior house painting process.
1. Furniture
If you elected to have us move your furniture we will at this time move all items to the middle of the room and take down blinds.
2. Masking/Plastic
All unpainted areas (where we are working) will be covered with plastic to protect the floors and furniture from drips or spills. Wood flooring will be covered with rosin paper to give an extra layer of protection so the floors do not get scratched. We tape the plastic down to the edge of the trim so there are chances of the plastic moving and leaving an area exposed.
3. Drywall Repairs
All cracks, corner beads, dents, and texture repairs will be done to give the areas time to dry prior to paint being applied.
4. Washing
We will wipe down any dusty or dirty surfaces such as baseboards, tops of shelving, tops of door frames, or any areas that need it. Painting on a clean surface is necessary to prevent future peeling.
5. Caulking
We will recaulk all baseboards, door jambs, window frames, anywhere the current caulking is cracked or missing.
6. Scraping
All loose paint will be removed.
7. Sanding
We will sand where needed to allow for proper adhesion of the finish coat.
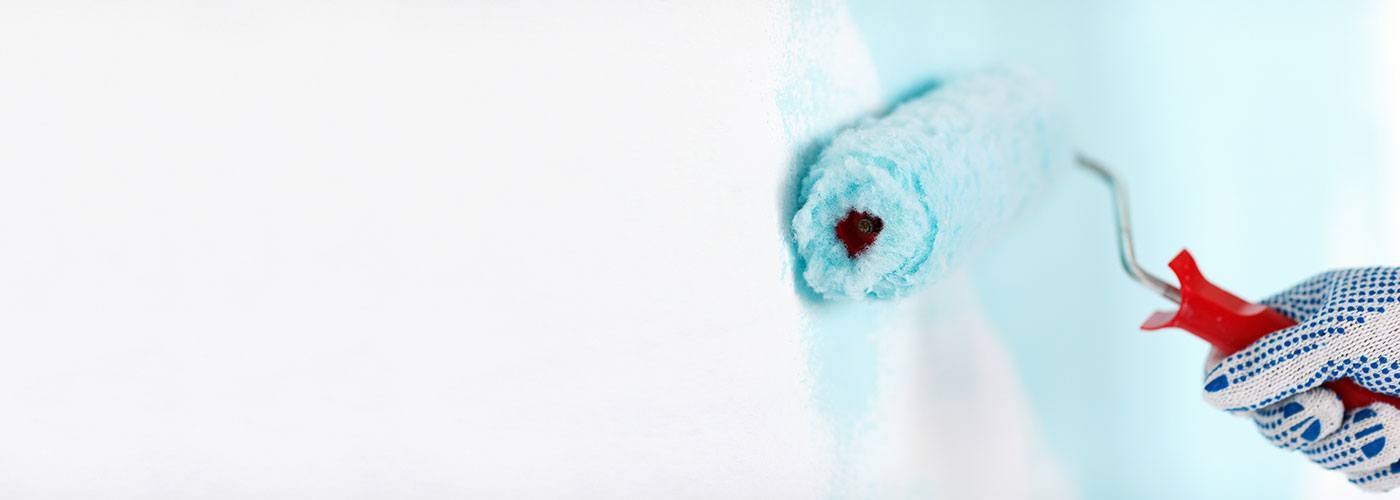
8. Paint
Ceilings are typically sprayed to give a consistent finish, walls are typically rolled with 2 full coats of paint for proper coverage. We prefer to use a 18″ roller for larger jobs and a 12″ roller for smaller jobs. Roll from ceiling to floor in smooth strokes, don’t stop halfway up the wall or you will see lines once the job is done. The key is to keep a wet edge and if you need to take a break paint completely to the nearest corner before you to.
9. Cutting In
This is the most difficult part of painting. We train our crews to remember “slow is fast.” Dip the brush in the can, give it a shake, then wipe half of your brush off. This will allow the brush to “cut” as you paint the edge with a slight angle. You should be able to cut about 3-4 feet before you will have to re-dip your brush. Remember the key here is to go slow with long, smooth, strokes, this will give the best cut line.
10. Cleanup
We cleanup after ourselves, we take off all the masking from your windows, doors and floors. We cleanup any loose paint chips and we pack up all of our stuff to go with us. You won’t be stuck cleaning up after us like many other house painters.
11. Inspection
The on-site foreman does a full walk through and inspects the entire job to make sure it matches our quality standards. Once he is done, he then will ask you to do a final walk through to make sure you are pleased with the job prior to us leaving.
Tricks of the Trade
- Use a good brush – we recommend a 3.5″ Purdy Angled brush. The Purdy brush does the best job of holding the paint to prevent drips while still being a good cutting brush, most of our painters use this one.
- Always paint at least 2 coats. There is nothing worse than finishing a job and cleaning up only to realize you can still see the other color through your new paint! Paint will thin after about 48 hours as it cures and by doing 2 full coats you can ensure proper coverage. Two coats is our policy for all interior walls.
- Use painter’s masking tape around all the trim work. If you take the time to tape straight your finished product will be straight and look professional. Unless you are a professional, you should always use tape or you won’t get the professional lines.
- Don’t rush into painting, we know you want to get paint up on the wall but if you take your time to prep and mask properly, you will get a much better finished look. This is the biggest mistake that people make.
Leave This One to the Professionals
As you can see, the interior house painting process is long and tedious. If you are going to try this at home you should follow these 10 steps to ensure you get the best possible finished results. Or you can leave it to the professional painting company, Arizona Painting Company. We’re one of the few painting companies who will take the time to do your job properly, see from our testimonials what other homeowners have said about our workmanship.
Our Reviews
